|
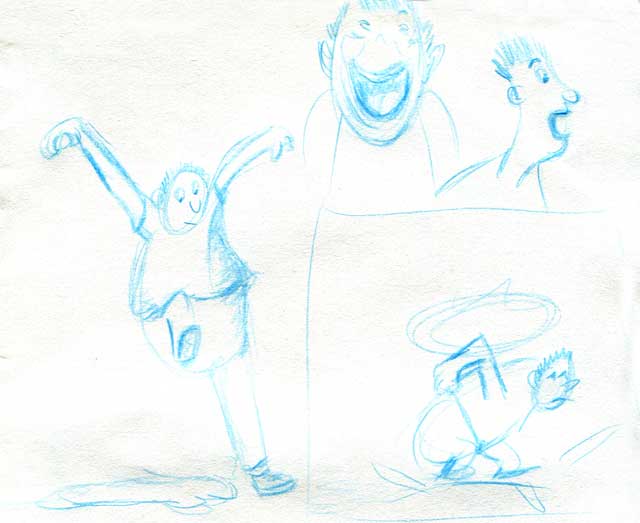
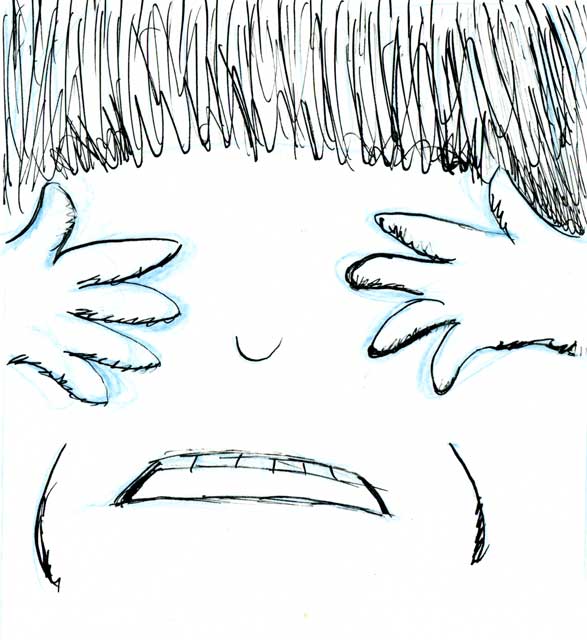
This week I took the opportunity to work on a series of illustrations that are part of a graphic novel. I figured it was a great opportunity to work through ideas, practice illustrating character expressions, and achieve consistency in style.
I started with some rough sketches. I used a Staedtler non-photo blue pencil. That way, when I scan the images in Black and White mode, the blue is invisible. I find this pencil is a great way to rough out my drawings, and there is less erasing involved than if I draw with a regular pencil.
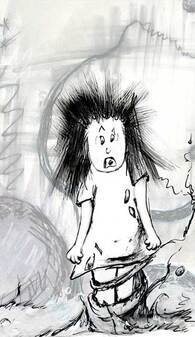
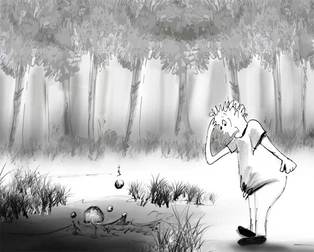
I like to then rework the drawings with a Staedtler .5 mm mechanical pencil. This makes it easy to see the parts of the illustrations that I like. I try to refine my illustrations as much as I can prior to inking, as this saves time in the end. The inking process is the next step once I have my characters illustrated the way I like them. I have found that the FW white acrylic ink, Derwent white watercolour pencil or a Pentel correction pen are great for correcting inking glitches. Or, many times I just pretend that the “mistakes” were intended, and just work with them. This can lead to interesting results. For example, when I started working on the Trapped image, I forgot that I had started inking with water soluble ink. Things started to bleed when I added a new layer of ink. So I just started playing with some of the patterns to create an abstract background.
Once the inking is complete, I then scan them, and digitally clean the images up a bit.
Comments are closed.
|
Categories
All
|
Privacy policy
Copyright 2024 Patricia Pinsk


