|
There are those that believe illustration is not illustration unless it is rendered by hand (e.g. painted or drawn). I believe that both hand-created and digital illustrations can be amazing. However, when the best of both worlds are brought together something truly unique can happen. If you have never merged digital with hand-rendered, the basic things to consider are as follows:
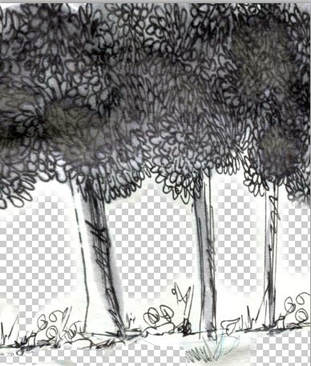
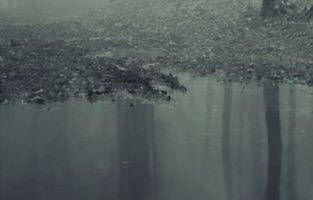
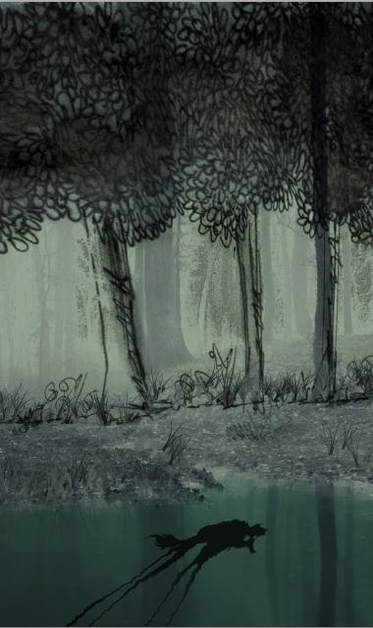
What size do I draw or paint? As good measure, stick to the same proportions of the book that you are working on. For example, if you are working on a square shaped book that is 8”x8”, then your illustration should be the same size. You can create an image that is slightly smaller or bigger, but you risk distorting some of the details in the scanning and size adjusting processes – especially if you work digitally smaller than your intended book size. Things like ink lines for example, start to look really rough when they are stretched to print at a bigger size. What is the best resolution to scan an image?Generally you want to scan your image at 300 dpi (dots per inch) for colour, and 200 dpi for black and white. So for a book that is 8”x8”, scan your image at 100% (or slightly larger, such as 120%) and 300 dpi. If you scan at a slightly larger size, you can either adjust the final size in your photo editing software, or have your print shop do so at the time of print. Some people recommend scanning your image slightly larger than required, so your final image looks really crisp. A lot depends on the quality of your scanner, printer and paper. Generally, if your image looks great magnified in your editing software at 300%, it will print properly. Your original image must be at the proper aspect ratio. That is, don’t scan your image at 8”x7” and expect it to print properly at 8”x8”. Pixelation (distortion) can occur. Always test print your images, and work with a quality print shop that is willing to adjust their printer to suit your work, versus going to a place that simply prints everything at the same settings. That way it’s easier to tell if you require further edits to your digital illustration. It’s difficult to determine this with a poor quality print. What to merge with digital and analogue? If you have photo-editing software like Photoshop there are a number of pre-set texture and pattern options available. However, it is best to create your own library – for the sake of originality. For example, scan in samples of some of your favourite fabrics, photos or textured papers as individual images. Or scan a series of paint textures. You can then use these samples to layer with your original illustration to create interesting effects. You can also create templates from hand-rendered components. Just scan, then import them into your digital composition. For example, you can paint a tree, scan the image, and then layer this image multiple times within your digital composition. Again, scan to size or slightly larger than required. The amount of options really is limitless when you start to incorporate digital with hand-rendered. Don’t be afraid to experiment, as some of the best creations are a result of “just playing around”. If you liked this blog post, you may also like: |
Categories
All
|
Privacy policy
Copyright 2024 Patricia Pinsk


